Subscribing a Customer with Stripe Billing
To correctly subscribe a customer to a product in Stripe Billing, using BoomFi as the payment processor, you will need to follow the steps below.
Step 1: Integrate Stripe and BoomFi
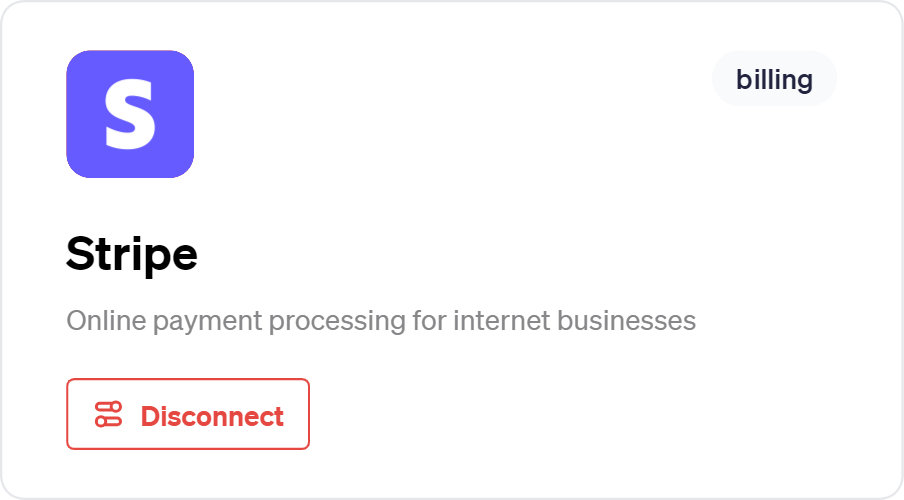
The initial step of the whole process is described on the BoomFi and Stripe Billing integration page. Validate if your integration is connected by accessing Integrations inside Settings. It should present you with the following image for the Stripe integration:
Step 2: Create a Product in Stripe (optional)
In your Stripe dashboard, you need to start by creating a product. If you already have a product created, you can skip to Step 3. Follow these steps to configure your new product properly:
- Navigate to Product Catalog in your Stripe dashboard.
- Click Add product.
- Configure the required fields, such as name and price.
- Save it.
BoomFi paylink
BoomFi will automatically generate a new paylink, and this will also be automatically added as metadata to the price's details. This paylink will also be added to any invoice related to the product.

Step 3: Create a subscription for a customer
With your new product and a BoomFi paylink available, you can now subscribe a customer to this product. To perform this, follow these steps:
- Navigate to Customers, and select the customer you wish to add a subscription to.
- Select the Create subscription option in the dropdown menu.
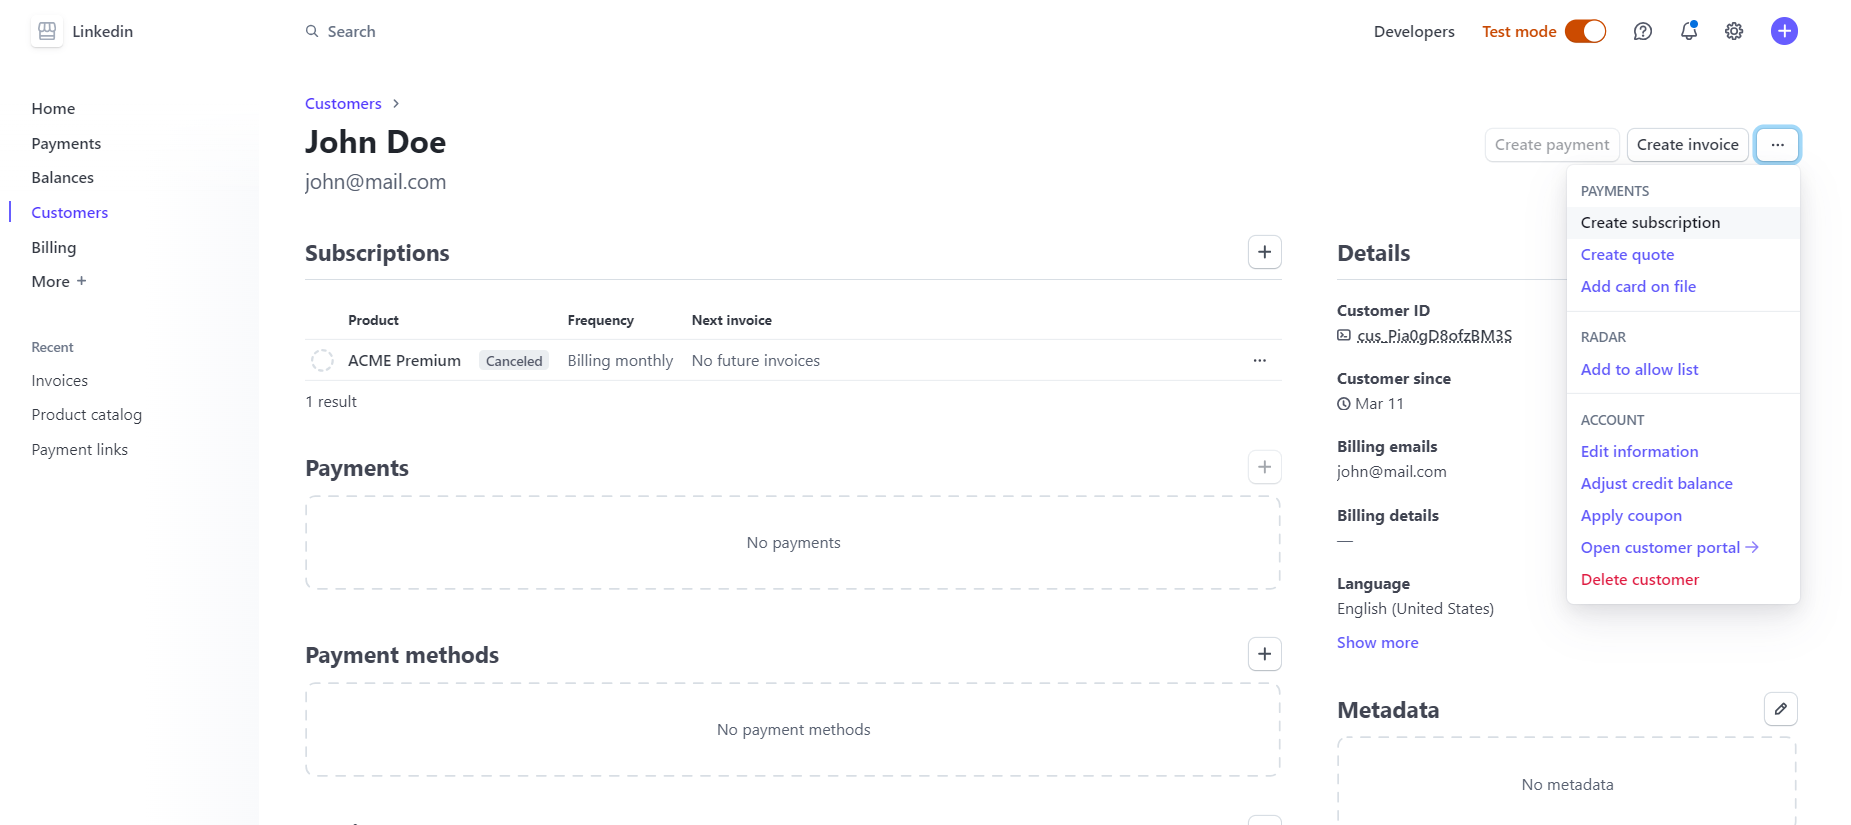
- Configure the subscription and add the product to it.
- Under Subscription settings, you are required to turn off auto charge and Invoice payment page options.
Required
BoomFi needs this options turned off. BoomFi will ignore any invoice with auto charge turned on, as we don't handle the "auto charge" functionality.
Invoice paylink
After these steps, BoomFi will add a paylink to any invoice related to this subscription. You can validate this. Navigate to Invoices in Stripe's dashboard and access the newly created invoice details. The Metadata will present the BoomFi paylink related to the product. This is exemplified below:

Succesful payment
After a successful payment, the Stripe invoice will be marked as Paid, and all the information related to the crypto transaction will be attached to it.
Updated 7 days ago